Hello there!!
Bring timeless style to any room in your home with this quick and easy-to-install vertical board-and-batten treatment.
In short, a board-and-batten treatment involves adding wooden strips to a wall in a given pattern to add texture and visual interest.
The second floor of our home received a few updates late last year and during the first months of this year. Two bedrooms and the hallway were painted, the entire floor was upgraded to white oak hardwood floors, and new chunkier baseboards were installed on the whole level. The part that I enjoyed the most was the transformation of the staircase.
All the changes brought to that second level have been well worth it. However, the style in the bedrooms could have been more desirable afterward. You can see how this room, or what the "girl room," used to look like for many years, and the "after" all painted white and getting ready for new floors.
It is now time to change this!
*This post contains affiliate links for your convenience. Click here to read my full disclosure policy.
The dark wall was patched, primed, and painted. The ceiling and remaining walls were also updated with BM Chantilly Lace, and the hardwood floors were installed.
The window cornice and the crown molding needed a coat of paint, but after living with this new setup, where the cornice didn't have the sitting bench below, I thought it was about time for the cornice to go, too.
As you can see below, those corners were patched, primed, and painted.
Materials & Tools:
Lattice boards: 1/4" x 1-1/2" x 8' ( vertical battens)
This room's 12.5' x 8' focal wall awaited some love. A vertical board and batten treatment using 1/4" lattice boards is a quick and easy way to add this classic detail.
Let's see how to install this lattice board-and-batten treatment!
Materials & Tools:
Lattice boards: 1/4" x 1-1/2" x 8' ( vertical battens)
Lattice boards: 1/4" x 2-1/2" x 12' ( horizontal/top batten)
Brad nailer: For efficient installation
Brad nails: 1-1/4"
Wood filler: For nail holes
Paintable caulk: For gaps between the wall and boards
Sandpaper: 120-grid
Pencil
Paint materials
This is a quick video of the transformation, but all the details can be found below:
PREPARATION:
1. Clear the wall: Repair it, remove wall hangings, and skim-coat it if it has a heavy texture.
2. Measure and plan: Determine the desired spacing between the vertical lattice strips. Consider the overall aesthetic and any obstacles (windows, doors, outlets). My plan was to install the vertical strips every 15 inches.
3. Prepare the lattice: Sand and preferably paint the lattice boards before installation.
INSTALLATION:
1. Install the horizontal boards: If your wall needs crown molding and/or baseboards, installing the chunkier 2-1/2" lattice boards on the horizontal would be the first step for a more polished look.
| Laser Level |
2. Mark the wall: Use a level and pencil to mark the initial vertical line on the wall where the lattice treatment will start. I started at the center of the wall to ensure that no board would fall over the outlet.
3. Install the first vertical batten: Align the lattice strip with the marked line and press firmly against the wall.
I used a Brad nailer for an easier install. I didn't apply adhesive, as these lattice boards are very lightweight. The brad nails—about five all along the board—plus the caulk on both sides of the boards will hold it in place for years to come.
4. Use a spacer: Continue using a spacer, which can be a spare piece of wood at your desired spacing length. It will ensure that the lattice strips will be evenly spaced and plumb.
This zoom-in picture of the batten reaching the baseboard is one of the reasons why I love to use this type of 1/4" lattice board, as it doesn't overhang on the baseboard.
After filling all the gaps and nail holes, I still need to paint the baseboards and give the battens another coat of paint. I'm using BM Chantilly Lace - flat paint on them.
Now comes the styling!! :)
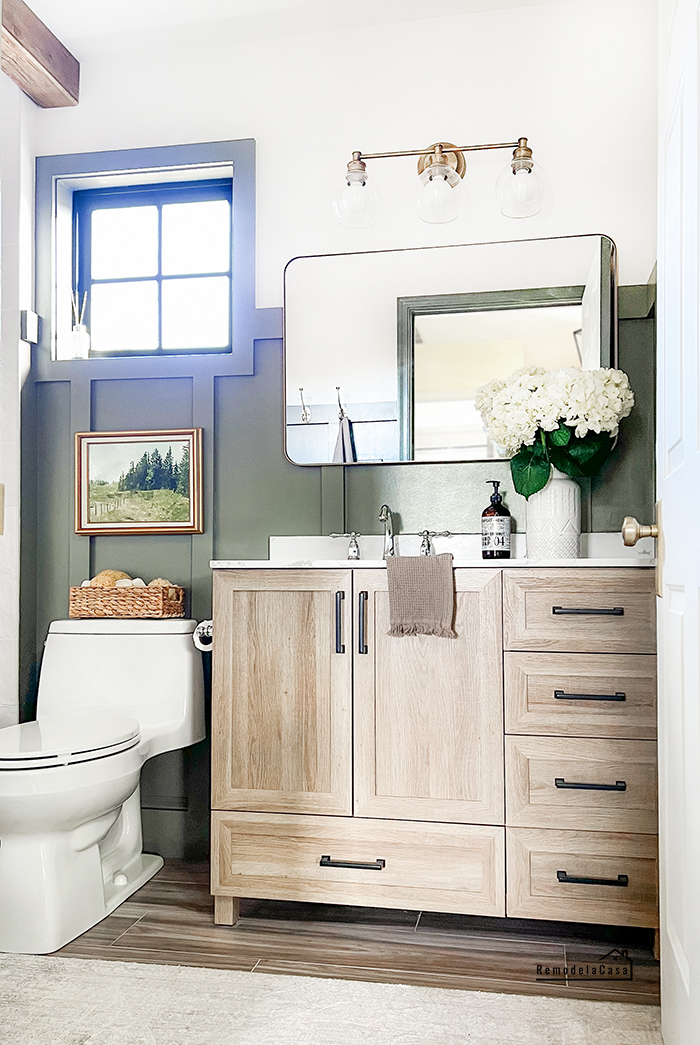
For more DIY - Board and batten treatments, check these out:


Beautiful work!
ReplyDeleteSue P.
Hi Sue, Thanks!! ❤️
DeleteBeautiful! You are so talented.
ReplyDeleteThat's very kind of you to say. Thank you!
Delete