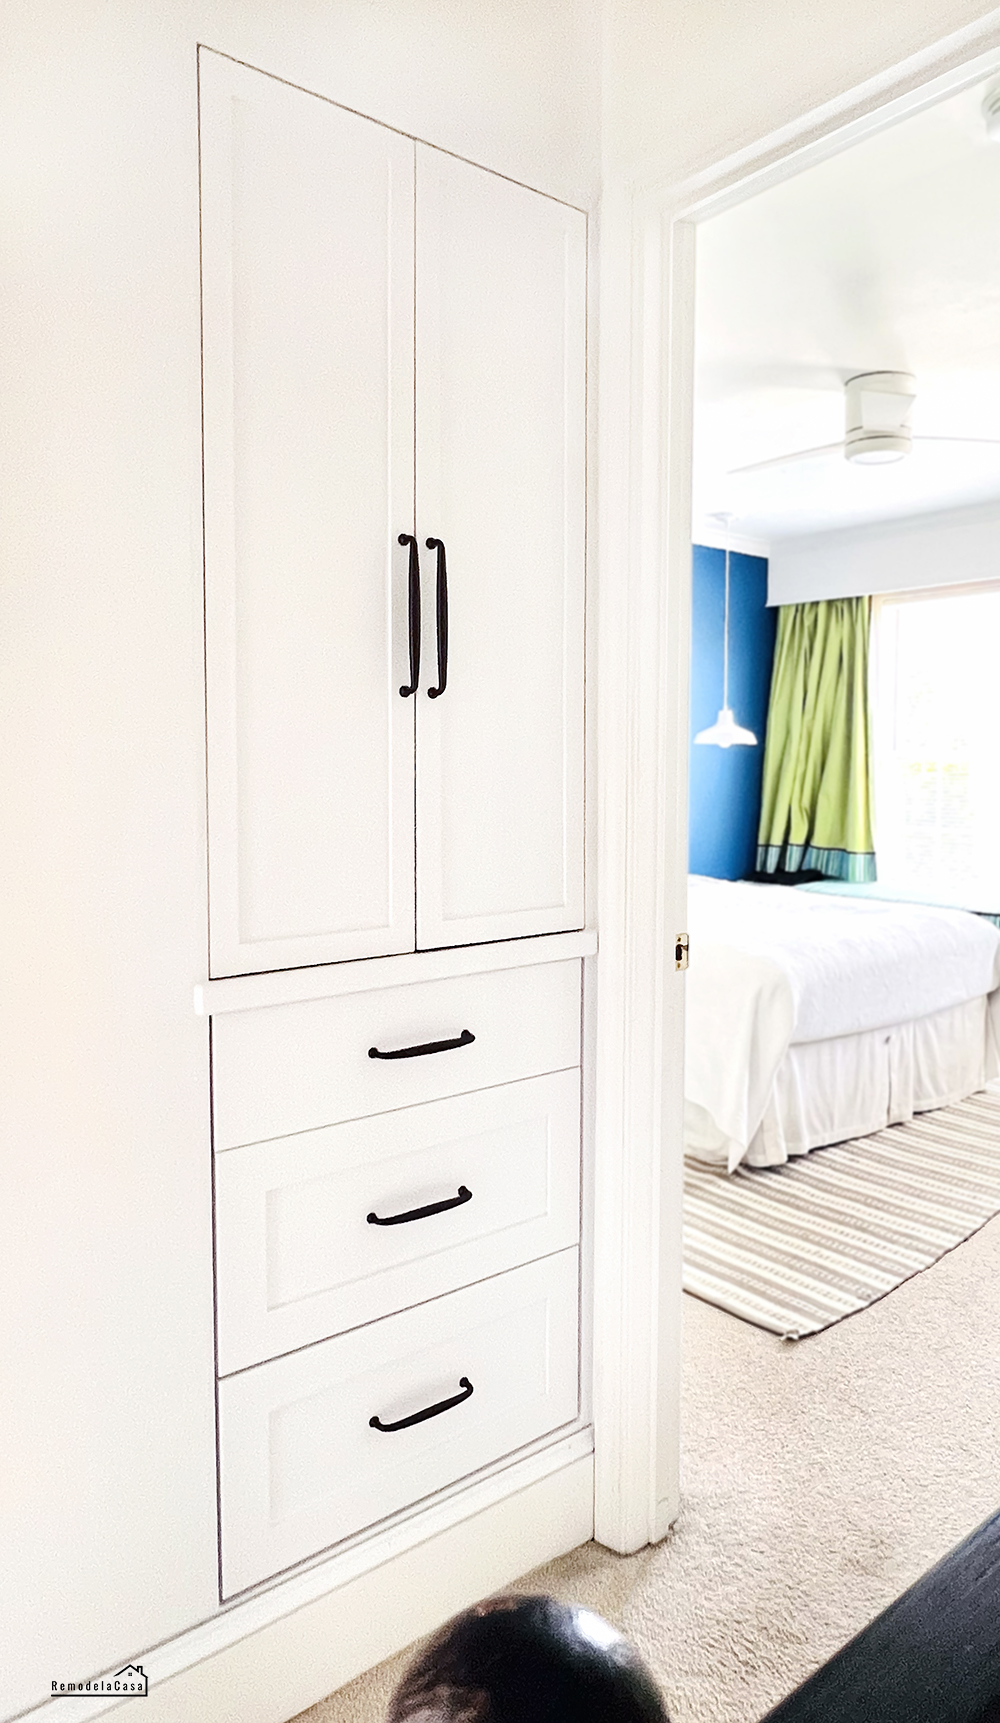
It's finally reveal day for our little linen closet in the hallway, right outside my daughter's bedroom! This small but mighty space has been the focus of a much-needed organizational overhaul for weeks. If you've ever felt the dread of opening your linen closet, unsure of what might tumble out, then you know exactly why I embarked on this mission.
Despite their seemingly straightforward purpose, Linen closets can quickly become cluttered and unorganized, especially if they lack the proper storage solutions and a consistent system. Towels get mixed with sheets, random toiletries find their way in, and before you know it, finding what you need becomes a frustrating treasure hunt. Sound familiar?
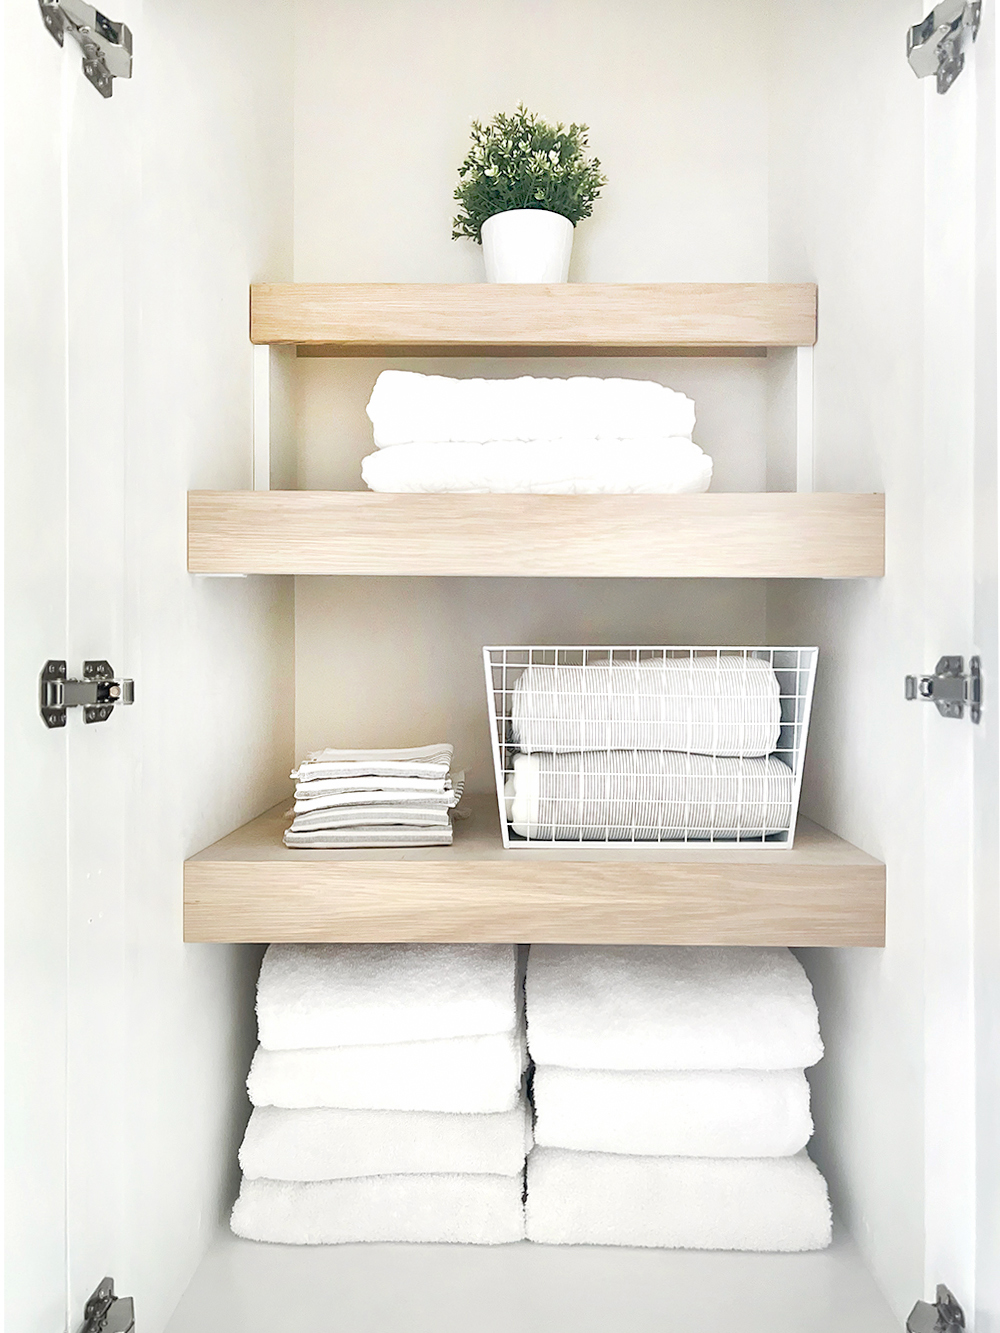
I was determined to transform our linen closet from a chaotic catch-all into a more practical and functional space, a serene sanctuary of soft linens and easy access. To achieve this organizational bliss, I brought in some new storage solutions designed to maximize every inch and create a sense of order.
This post is the finished product, a step-by-step look at our linen closet makeover, complete with the organizational tools I used and the strategies that made the biggest difference.
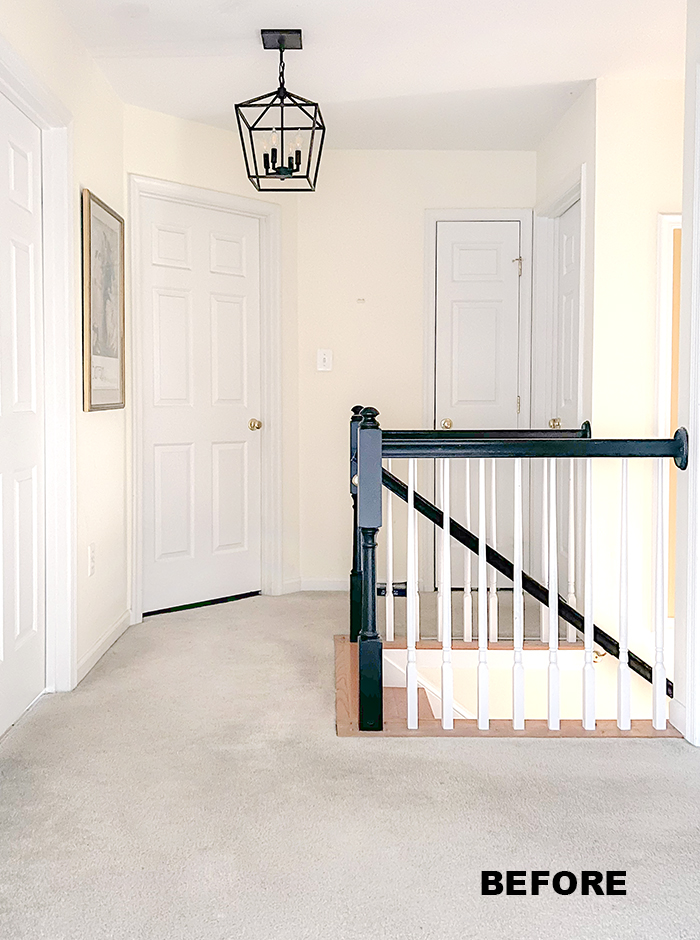
Whether you're tackling a tiny hall closet or a larger linen storage area, I hope this transformation will give you some inspiring ideas for organizing your linen closet and creating a calm and efficient home. Let's dive in and see the before and after!







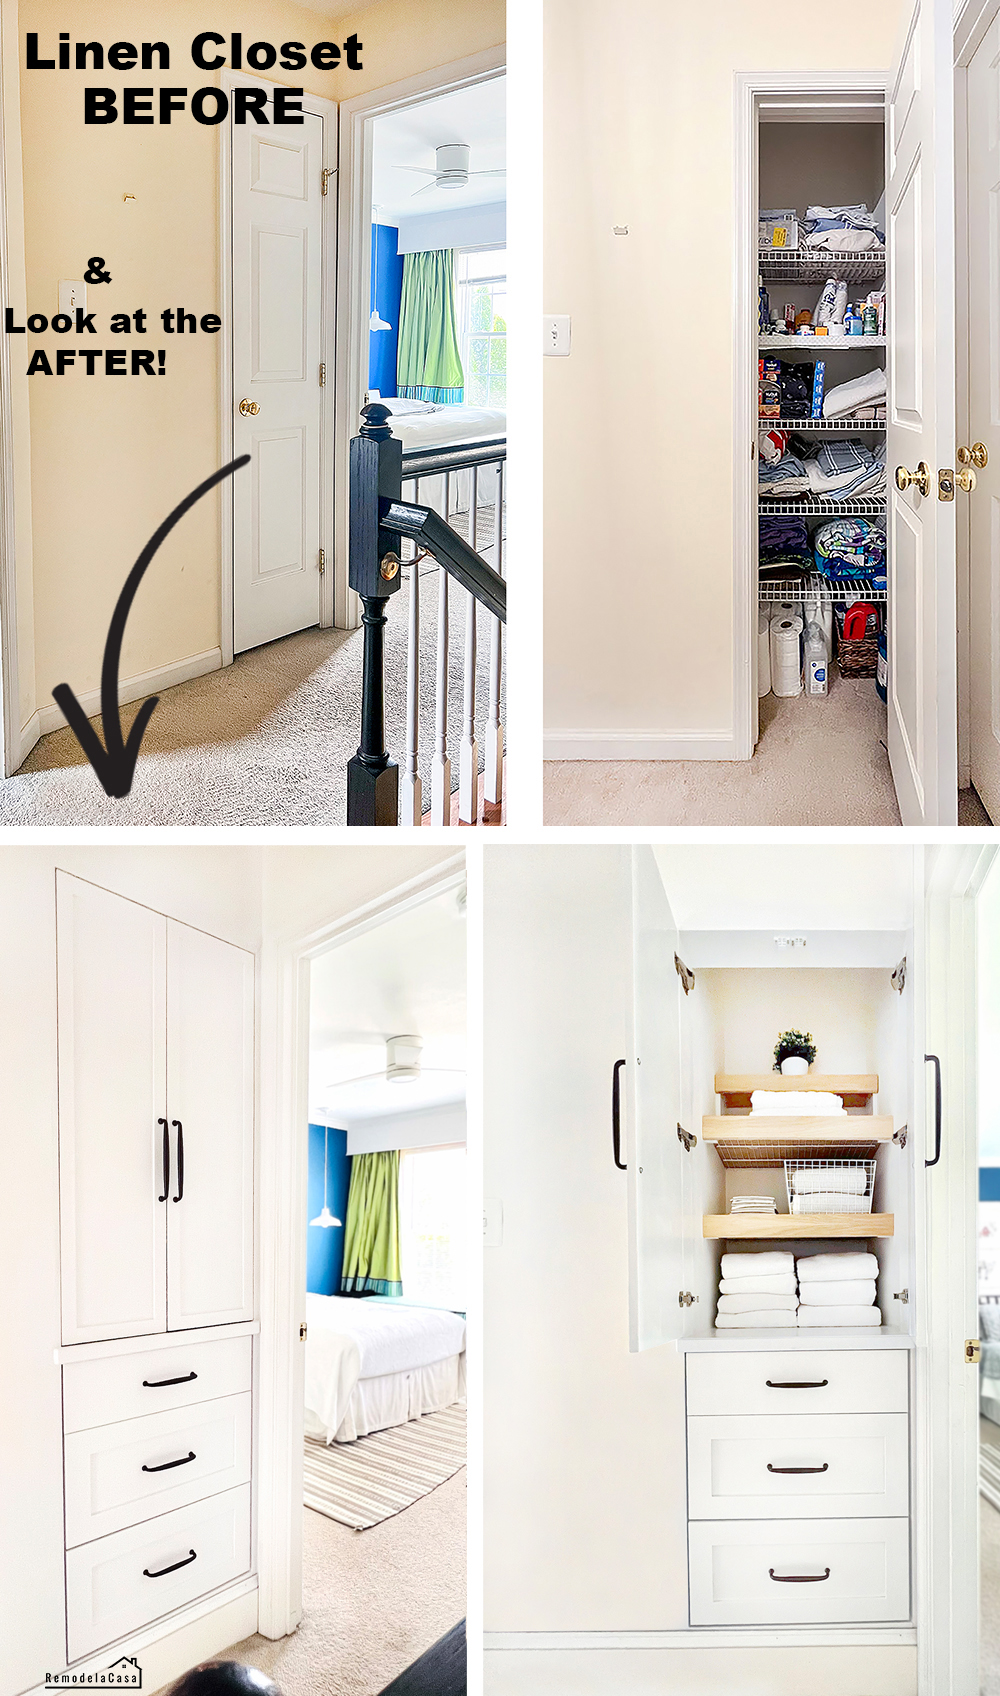

This turned out so well! It looks bigger than the space you started with!
ReplyDeleteThanks Sheila! Yes, the removal of the long door and trim around it now makes it look wider. My favorite part are the drawers, they glide so nicely. :)
DeleteBeautiful and pracical!
ReplyDeleteAww thanks! Yes, it is.
DeleteSuch a lovely project. Love the before and after. I am happy to feature your linen closet makeover at Love Your Creativity.
ReplyDeleteWow! What a great way to transform a linen closet. It looks amazing and so much more functional now!
ReplyDelete