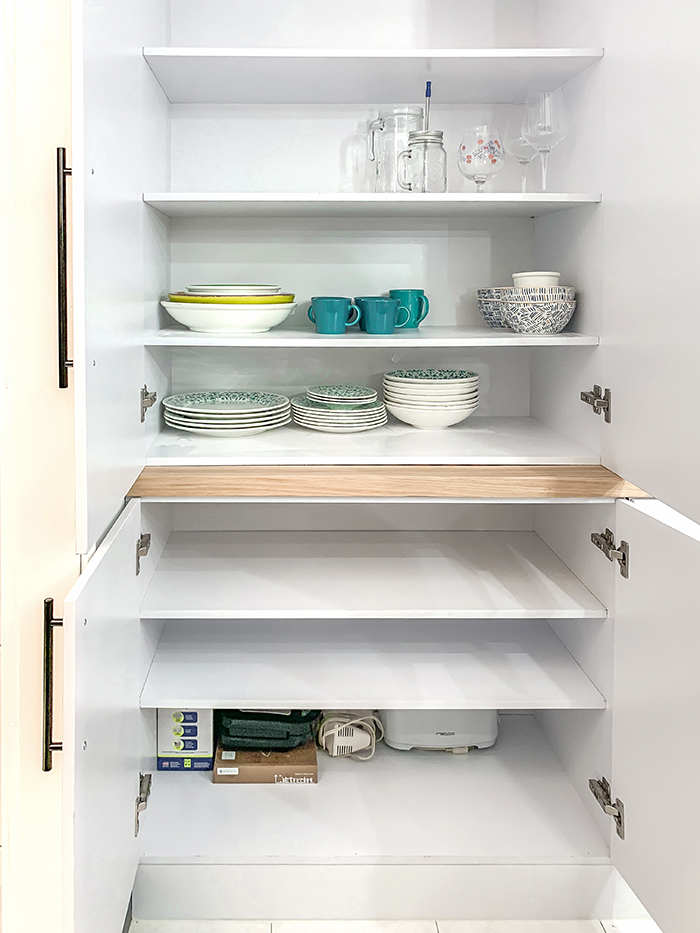
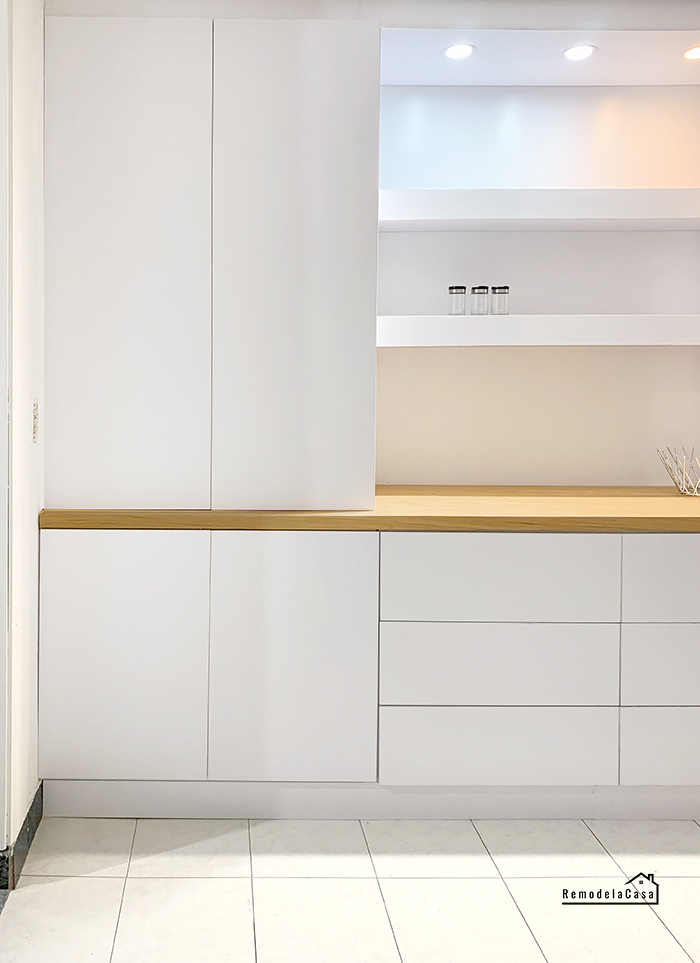
A wall-to-wall built-in buffet unit was the best solution for resolving the storage problems in my sister's dining room.
After finishing work on the other side of the room with the banquette and the dining table, it was now time to get into the biggest build, the built-in buffet. I was making sure that the cabinet that you see below was never coming back! 😫
If you're new here, let me tell you that this project was done at my sister's house in Bogota, Colombia, while I was vacationing there.
I was giving her dining room a complete makeover, and this entire project was possible because her son, my nephew Julian, was the man with the tools doing all the main builds. I was only his assistant, helping with the design and decorative process.😃
Let's get to the details about this Built-In Buffet - The plans are right HERE.
Once everything arrived, it was just a matter of assembling and installing the entire unit.
If you're intimidated about building a huge unit like this one, think of it as building boxes or crates. If you can take good measurements and build a box, then you can build this unit.
The job then is to cut the material, assemble the boxes, and install them, attaching them to each other and the wall.
THE BASE & LOWER CABINETS
Julian used 3/4" plywood for the base and the entire unit. The first task was to build the base and mount the base cabinets on top of it.
THE COUNTER
He also used plywood for the countertop. In Bogota/HomeCenter, they add edge banding wherever you ask for it. Again, amazing! I wish Home Depot would do that here.
The countertop consisted of two pieces, and he made sure the seam was off-center to partially cover it with the top cabinets.
The countertop was attached to the base cabinets by driving 1-1/4" wood screws coming from inside the base cabinets and onto the top.
TOP CABINETS
The upper cabinets were then mounted onto the countertop. Like the base cabinets, they had to be secured to the wall.
DRAWERS
ADD LIGHTS
This is a dark room, but the LED lights he added to this unit will make it brighter.
FLOATING SHELVES
Shelves were installed in this middle section of the unit to give more openness to this entire space.
And here, looking the other way.
Well, guys, I'm saving the styled pics for the reveal, which is coming soon!!
Check all that's going on with this DINING ROOM makeover:


New comments are not allowed.