I'm back today with this quick post about this accent wall I want to create here in my bedroom.
My first idea was to paint this wall a dark - moody color and yes, that's still the plan. 👍
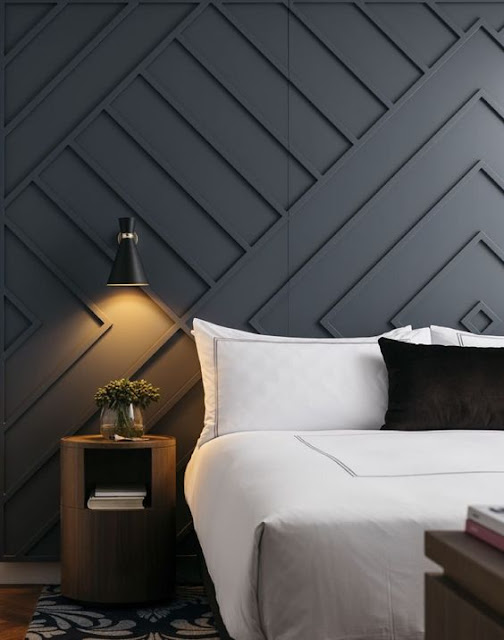
But then, I also thought of creating a design, a wooden design like the one below. Don't you love it?
By the way, if you happen to know who's the rightful owner of this picture, please let me know to give it credit.
This image is my biggest inspiration for what I want to do in my bedroom, but I also gathered a few ideas online...
*This post contains affiliate links for your convenience. Click here to read my full disclosure policy.
Starting with an accent wall created by the super talented Angela Rose from @angelarosehome, please go do yourself a favor and follow her on Instagram!
DIY - Accent Walls that I love:
GETTING MY OWN DESIGN
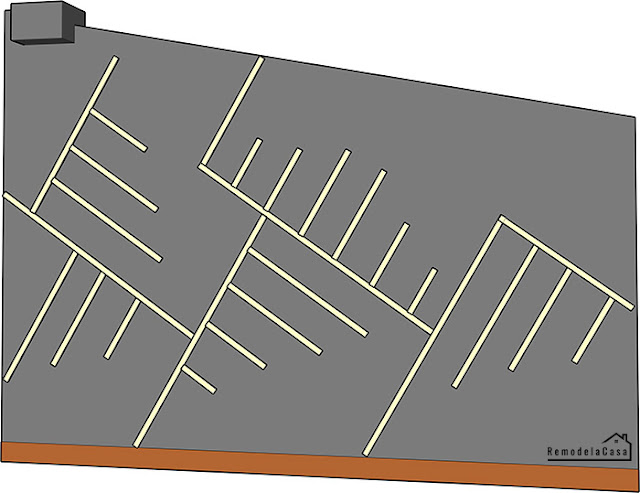
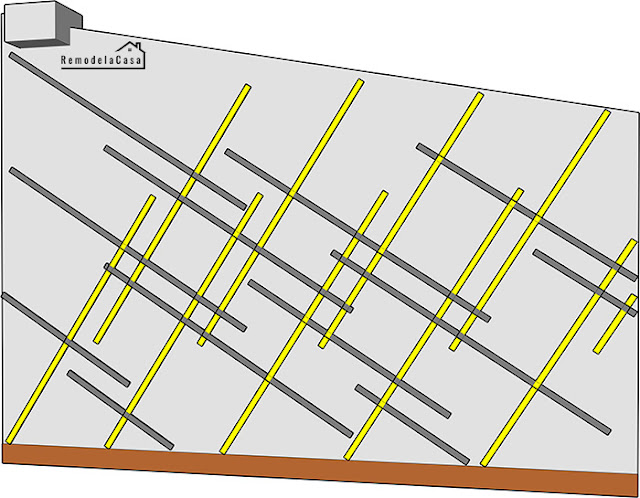
Well, I'm here starting to laugh at myself... I had my mind full of gorgeous wall ideas that prompted me to go to my computer to start creating my very own design.
😳😳😳
Well, yes. Those were the two best designs I could produce. 😄 The one on the left was done as practice, trying to copy-cat the one I liked the most. The other one took me more than an hour before I gave up.If you have followed me for a while you probably know that I suck at graphics and cooking and a bunch of other things, but that would probably be a good topic for another post. ;)
One of the hardest parts of coming up with a design for this wall was the elevation. That was the same trouble I had the first time I painted this room, as you saw in my previous post.
My solution at that time was to draw a line all around the room, leaving that elevation untouched. Of course, it didn't work.
The following were the guidelines I was trying to follow to create my wooden accent wall design:
- It should be an asymmetrical design.
- Maybe this is covered in the previous line, but here it goes again, I didn't want a center point.
- The design should bring the eye towards the right, top corner of that wall - the shortest part.
- That big elevation on the left, should be downplayed.
- Last but not least, I wanted an easy design.
My failure at drawing the designs made me go and ask for help from my designer nephew, Julian.
He created these three beautiful designs:
I asked my nephew for measurements and he was quick to send me these:
While trying to decide what to do... I went to patch holes and prep the entire wall.
Two coats of spackling & sanding in between coats.
Then, I installed the new baseboard.
 |
| | Ryobi Brad Nailer | Husky Soft Cap Gel Knee Pads | Firm Grip Gloves | |
Complete details about the DIY-Accent wall are right HERE.
Now tell me, have you tackled any wooden design on a wall in your home? Or are you thinking of giving it a try?
The following are all the links to this bedroom makeover:
- Master Bedroom Final Reveal
- Painting the Accent Wall
- Installing the Accent Wall
- Planning a Wall Design
- DIY - Modern Night Stands with Wireless charger
- The Hanging Planter
- Master Bedroom - The Before
- DIY - Built-in with fireplace
- DIY - Faux Wooden Beams
For more Home DIY ideas check these out:
*This post contains affiliate links.


Looking good! I can already tell this is going to be awesome.
ReplyDeleteSo exciting to see you work your magic on another room!
ReplyDeleteShelley