Fall is in the air and I've been adding little bits of it all around my home!
Ha, I know it's kind of early, but we can pretend those temps outside aren't that high. :)
Truth is, I'm getting my home ready for Fall home tour week.
One of the things I always like to change as the new season arrives, is the wall decor. But, in order for me to afford it, I have to DIY it. Yep, I cannot go and buy a new piece of art for every room every three months.
So, while I was working in the garage the other day I spotted a bunch of
plywood remnants. They looked to me like picture frames, that's when the idea of doing something with those boards appeared.
At first, I was thinking on using each of the four boards with a different picture, but I changed my mind and decided to create only one pic on the four of them. Easier to hang. ;)
I've been loving deer head art, it can be use year round and it goes well with rustic and not so rustic decor.
I recommend this project if you have remnant pieces of wood and most of the materials at hand, because it can turn expensive if you have to buy most of the materials and tools.
Let me show you how to make your very own deer head silhouette wall art!
The materials:
- (4) 10" x 11" x 1" plywood boards
- (1) 22½" x 24½" x ¼" Plywood board
- (2) ½" x ¾" x 21½" trim
- (2) ½" x ¾" x 24½" trim
- Rust-Oleum Linen White chalk paint
- Rust-Oleum Charcoal chalk paint
- Paint brush
- Graphite paper
- 80 grid Sand paper
- Printables here: 1, 2, 3 ,4
- (1) saw tooth picture hanger
*Affiliate links.
Instructions:
Cut the plywood material following the dimensions above. Sand it and paint it white.
Print the four graphics, trim each page excess border (inner white margins) as seen in left picture below.
Using the graphite paper, trace each of the silhouettes onto the plywood boards, above right picture.
Make adjustments to the design, if needed. Paint the silhouettes with Rust-Oleum charcoal chalk paint. The paint is thick, don't worry about it, it doesn't have to be perfect.
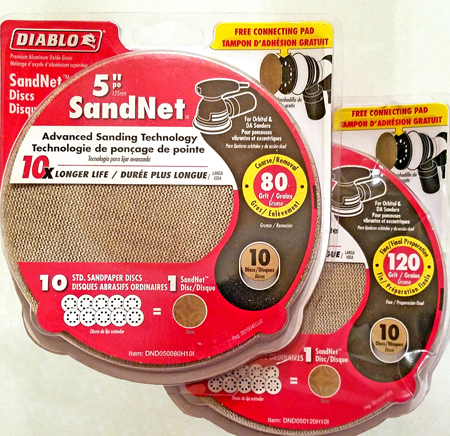
Wait for the paint to dry to start sanding. I used a 80 grid SandNet sanding disc and I love the distressed effect the sanding gave to the pieces. There you can see the difference it creates.
I didn't apply wax or poly to protect the painted surfaces. I'm using this piece indoors and I might be painting something else on those same boards in three months, no need for me to go the extra mile. ;)
It's now time to work on the backer board. Place the two side pieces of trim (½" down) on your work area, bring the backer board face down on top of those two pieces. Align the backer board's edge with the trim and using ¾" brad nails set them in place.
Do the same for the top and bottom pieces of the frame.
The final part is to attach the four boards with the painted silhouette to the backer board.
I used two pieces of gaffers tape on each board. They were centered and then I carefully flipped the entire piece to drive ¾" brad nails from the back and into each of the four boards.
Add a saw tooth picture hanger on the back and get ready to admire your piece of art!
I LOVE it!
There's still time to enter to win a set of Diablo SandNet Sanding discs sets. Three lucky winners will be announced soon!
For more Wall Decor Ideas check these out:
*Ryobi Tools were given to me to try out,
I love them so much so that they are the tools I use for my every day projects.
All stated opinions are my own.*
Affiliate links were added for your convenience.


Love, love, love the deer head wall art. Once I see the directions, it looks so easy! Thanks so much for sharing. Also entered to win the sanders. Pick me!!! :-) Susie from The Chelsea Project
ReplyDeleteThanks so much, Susie! Wishing you lots of luck. :)
DeleteLOVE this, and it would work with so many images. Thanks for the detailed directions.
ReplyDeleteDyan (http://www.pinterest.com/dyancross)