Well, I'm back! Let's build some shelves. :)
If you're new, here are the links to the previous posts about this built-in unit in the dining room:
Part 1 : The Starting Point
Part 2: The Base Cabinets
Part 3: The Decorative Toekick
For these shelves I used a sheet of plywood for the sides and asked the guys there, at Home Depot to cut the four pieces- lengthwise.
At home I made sure they were all the same size. Their width's about 11½". Same thing for the shelves.
*This post contains affiliate links*
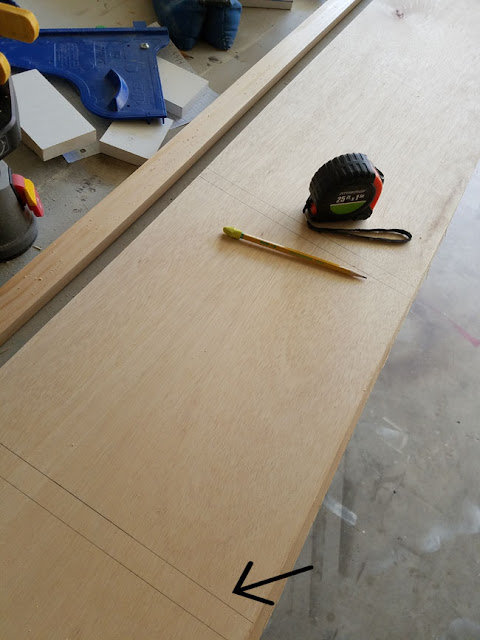
Next, I marked all the boards: front-back-top-bottom, and drew the lines for the shelves on both sides of each plank.
Once again, the Right Angle Clamp was my right hand to keep those boards steady and at the right angle. The lines on the inside helped on keeping the shelf in place, while the ones on the outside were the guides to drive the screws.
This is my first time driving the screws from the outside of the shelf leaving the screws exposed. My previous shelves were done with pocket holes. Both ways are kind of fine. Maybe the pocket holes take a bit more time, but it all depends on what you want. Here, the screws show on the outside and I'm fine with it because the sides are going to be covered with ¼" beadboard panels.
I run out of ¾" plywood, I used ½" for that top part, and added pieces of 1 x 2's to better secure it.After making sure it's square, it's time to attach the back.
 |
| Ryobi Drill |
Since, I was going to drive the screws from the back and into the shelves, I had to know the exact position of each shelf from the back.
So, I first placed the ½" plywood back right side up on the floor, and placed the carcass right on top of it (front side up), and using a pencil traced the lines all around the sides and shelves. The left picture above shows those lines.
After moving the carcass away, I use a small drill bit to drive pilot holes for the screws right in the middle of those lines ( middle picture above). Those little holes are the guides to ensure the screws are driven right into the shelves.
Before attaching the back, I brought both pieces inside the room, placed the carcass front side down. Then, the back was placed on top, right side down, aligning it to the outside. And finally driving the screws on the pre-drilled holes. --> Perfect!
Then, my trouble was to bring them a top the base cabinets... Too heavy!
The mister wasn't around, I had to wait 'til next day. :/
Woohoo - This is the point when you begin to see big change! :)
It motivated me to go make the face frames! I shared some tips on how I make them when I created the built-ins in my son's room HERE.
They were attached to the shelves with glue and brad nails.
The only thing different with the face frames this time was that they had to extend ¼" more for the beadboard to sit flush with them, as you see here in the bases.
I aligned the inside of the top shelf with the inside of the face frame. The extra lip here was grater than on the base: ¾". I added ½" scrap pieces to make them flush.
Every little piece is one step further.
I also gave the room a coat of white paint and built the bench, but I'm leaving all those details for next post. This past weekend I didn't do much...
Check the following links for complete details about this entire project:
Part 4: The Shelves
Part 5: The Bench
Part 6: The Table Makeover
Part 7: The Ceiling
On other notes, Christmas crashed this project! look at this! :D
In keeping it real and as a good procrastinator, this was the scene here in the dining room this past Saturday. It was the closest and emptiest room when coming up from the basement carrying the tree, and the chair, and all the Christmas goodies. I only had to move the dust to the other side and take the pics. ;)
I already moved it all to the other side of the living room, and I can't wait to finish this project to start decorating for Christmas... For real!
For more Home DIY ideas check these out:
This is how it looked: DIY - Stocking Holder
*This post contains affiliate links.


You are so incredibly talented at carpentry! These built-in's look incredible!
ReplyDeletexoxo, SS
Southern And Style
Thanks Jordyn, you're so kind! Every single project is a learning experience, there are mistakes along the way, but and I'm trying my best.
DeleteI agree, you are very talented and you give me such encouragement with your projects. I can't wait ti try something similar to this in my dining room
ReplyDeleteThese are beautiful! This room is going to be amazing, Cristina!
ReplyDeleteIn carpentry, as in life, we learn from "mistakes." Unfortunately I seem to learn a lot as I work from one project to the next...lol! Loving the built ins! They really enhance the room! I can see why you want to get this done before the holidays! Why do we do this to ourselves!? I built another little bench for the table this year but at least I did it the week before, rather than the day before! Keep on trudging...think of all the beautiful Christmas styling you can do on that thing...lol! Can't wait to see it!
ReplyDeleteYou do such great work. I know this room will turn out fabulously. If I could do this my kitchen would be finished. :(
ReplyDeleteLooks amazing Cristina. You are so talented!
ReplyDelete