Thanks so much for following us on our 12 Days of Christmas Ornament event!
For this, the 10th day, I went with the chalkboard trend.
Don't worry!
There is no painting or cutting involved in the making of these ornaments.
During the Summer I found these wooden chalkboard labels at Michael's, their price was great, only two dollars for a 6 piece pack. I grabbed a big bunch, not knowing how I was going to use them.
Well, here they are!
The only materials you're going to need are the labels and chalk.
Season the chalkboards by rubbing a piece of chalk over their surfaces.
Clean thoroughly with a cloth.
Draw your own designs. I drew the designs because I wanted to use the labels not only as ornaments, as soon as the holidays are over they are going to be great for labeling baskets and containers. If you're not good at drawing, you can use stickers or stencils to paint the designs.
The only advice I can give you for drawing the designs with chalk is to have a chalk sharpener.
Draw your own designs. I drew the designs because I wanted to use the labels not only as ornaments, as soon as the holidays are over they are going to be great for labeling baskets and containers. If you're not good at drawing, you can use stickers or stencils to paint the designs.
*This post contains affiliate links for your convenience. Click here to read my full disclosure policy.
The only advice I can give you for drawing the designs with chalk is to have a chalk sharpener.
I didn't have one and that's why I had to make the piece of chalk flat by rubbing it on another label, in order to have a sharp side.
Draw your words or designs lightly, erasing any mistakes with a damp cloth, waiting for it to dry, and drawing it again until it looks good. Then, go over the design one more time...
Until you're happy with the way they look.
I decided to use red ribbon instead of the twine they came with.
I love the contrasting colors.
And here's a little peek at how they look on the Christmas tree with some of the other ornaments I've created.
For more easy ornament ideas visit my 12 Days of Christmas Ornament pals by clicking on the links below.

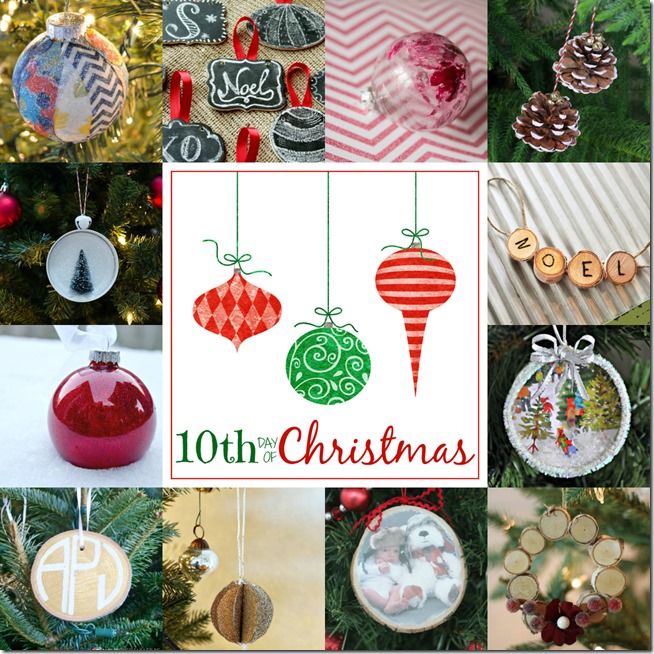
Click on any of the pictures below to check my 12 Days of Christmas Ornaments.
P.S. For even more holiday inspiration check out Michael's on Facebook, Pinterest, Instagram and Twitter
Draw your words or designs lightly, erasing any mistakes with a damp cloth, waiting for it to dry, and drawing it again until it looks good. Then, go over the design one more time...
Until you're happy with the way they look.
I decided to use red ribbon instead of the twine they came with.
I love the contrasting colors.
And here's a little peek at how they look on the Christmas tree with some of the other ornaments I've created.
For more easy ornament ideas visit my 12 Days of Christmas Ornament pals by clicking on the links below.

Fabric Scraps Christmas Ornament | Whats Ur Home Story
Chalkboard Christmas Ornament | Remodelando la Casa
Marbled Ornament | Bigger Than The Three of Us
Painted Pinecones Ornament | All Things G&D
Bottle Brush Tree Ornament | It All Started With Paint
Wood Slice Noel Ornament | Cherished Bliss
Glitter Inside Glass Ornaments | Mom 4 Real
Mason Jar Ring & Recycled Card Shadowbox | Serendipity Refined
Monogrammed Wood Slice Ornament | May Richer Fuller Be
Glitter Paper Ornament | The Happier Homemaker
Wooden Photo Ornament | Lovely Etc
Mini Woodland Wreath Ornament | Thrifty & Chic
Click on any of the pictures below to check my 12 Days of Christmas Ornaments.
 |  |  |  |
 |  |  |  |
 |  |  |  |
*Some of the products used in this post and The 12 days of Christmas Ornament event were purchased with a gift card that I received from Michaels*


Great idea.. wish I found them in the summer ;)
ReplyDeleteI am really going to have to make an effort to check out Michaels after holidays! I find them so expensive even with the coupon you can use at the checkout. These are so cute....they all have been. Looking forward to the next one!
ReplyDeleteToo cute...last year I made "tags" out of large stir sticks and then painted the fronts with chalkboard paint...super easy for tagging large gifts or stockings! http://beckwithstreasures.com/journal/2013/11/22/christmas-stockings?rq=chalkboard
ReplyDeleteSo you can use these for that as well as ornaments!
I like the shapes of yours too...really super cute!
Que trabajadora estas Cristina !! Esos adornos con pintura pizarron me encantan
ReplyDeleteQue gran idea, me encantan también estos adornos de pizarra!!
ReplyDelete